No Egg Recipes – Delicious Cooking Without Eggs
Green hummus: The Definitive Guide to Vibrant, Creamy Chickpea Dips
green hummus made at home with greens, chickpeas, and tahini for a silky, nutritious dip, tested, allergy-friendly care. Discover Elsie's trusted method.
Introduction
I’m Elsie Marlow, a home cook whose daughter’s allergy nudged me into creative, inclusive cooking, and I fell in love with turning simple pantry staples into joyful dishes. In my kitchen, I discovered that green hummus can wake up any snack, make sandwiches sing, and carry a whole lunchbox on its own. This guide walks you through why homemade versions beat store jars, how to get an ultra-smooth texture, and practical tricks for freezing and serving so your batch stays bright and delicious.
Table of Contents
Table of Contents
Elsie Marlow
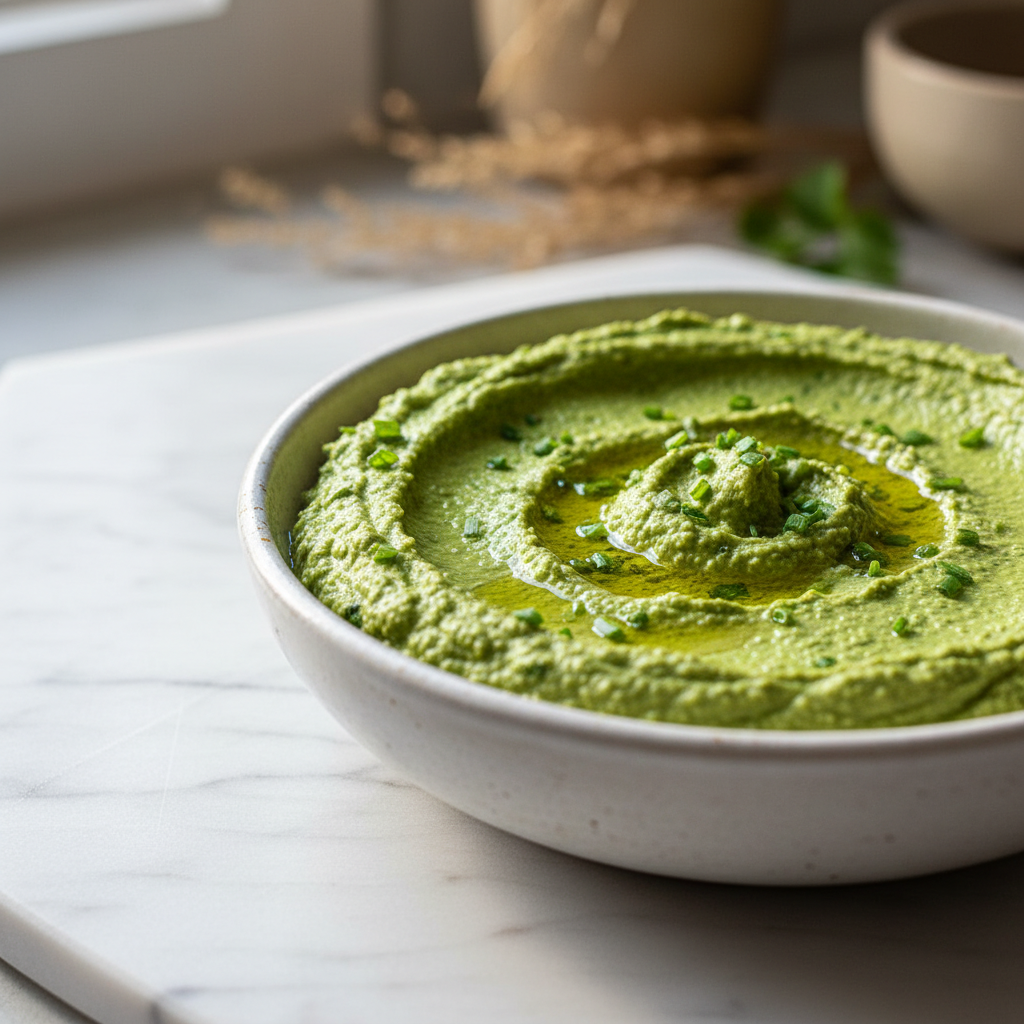
Vibrant Green Hummus (Freezer-Friendly)
Unlock the secret to the creamiest, most vibrant green hummus right in your kitchen! This recipe is packed with fresh herbs and greens, making it a delicious and healthy dip, spread, or snack. Plus, discover expert tips on how to freeze it for future enjoyment!
PREP TIME
25 mins
25 mins
COOK TIME
0 mins
0 mins
TOTAL TIME
25 mins
25 mins
Servings: approximately 1.75 cups (415 ml)
Course: Snack
Cuisine: Mediterranean, Middle Eastern
Calories: 150
🥄 Ingredients
- 1 can (425 g) chickpeas (garbanzo beans), drained and rinsed
- 0.25 cup (60 ml) tahini (sesame seed butter)
- 0.25 cup (60 ml) Italian parsley (or cilantro depending on preference)
- 1 cup (25 g) super greens of choice (packed raw greens such as kale, arugula, and/or spinach) with tough stems removed
- 0.25 cup (60 ml) chives or green onion, chopped
- 0.25 cup (60 ml) fresh-squeezed lemon juice (reserve zest for serving if desired)
- 0.25 cup (60 ml) olive oil, plus a drizzle for serving or freezing
- 1-2 cloves fresh garlic, peeled (depending on your affinity for garlic)
- 0.25 teaspoon (1.25 ml) ground cumin
- 0.5 teaspoon (2.5 ml) sea salt (or more, to taste)
- Dash of black pepper
- 1-2 tablespoons (15-30 ml) water, optional (for thinning)
👩🍳 Method
- Combine the drained chickpeas, tahini, parsley, super greens, chopped chives, lemon juice, olive oil, peeled garlic, cumin, sea salt, and black pepper in a food processor or high-powered blender. Pulse/blend until combined.
- You may need to stop your blender or food processor a few times to scrape down the sides as you go. If using a high-powered blender, utilize a tamper tool to keep ingredients moving into the blades.
- Initially, avoid adding water. Blend thoroughly until the mixture reaches a thick consistency. If the hummus still seems too thick after blending all other ingredients, slowly add 1 to 2 tablespoons (15-30 ml) of water, one tablespoon at a time, blending and re-assessing until it reaches your desired creamy consistency.
- Do a taste-test after mixing but before serving. Adjust with more salt, pepper, or other seasonings as desired to perfect the flavor profile.
- Serve your lusciously-green hummus in a bowl with your favorite dippable items. Drizzle with extra olive oil and a pinch of diced chives, pine nuts, lemon zest, or dried chickpeas for garnish. It’s also excellent with a sprinkle of ‘everything but the bagel seasoning’ on top.
- Store green hummus in an airtight container in the refrigerator and consume within 5-7 days. For freezing, add a thin layer of olive oil on top before freezing in an airtight, freezer-safe container to prevent drying out. Thaw in the refrigerator and re-blend if needed to restore consistency.
Notes: For the smoothest hummus, ensure your chickpeas are very soft. If using a high-powered blender, a tamper tool is helpful for blending. Adjust seasonings to taste before serving. This hummus stores well in the refrigerator and freezes beautifully.
Why Homemade Green Hummus is Unbeatable
Making hummus at home transforms a familiar comfort food into something fresher and more vibrant. When I blend chickpeas (garbanzo beans) with herbs and greens, the result is brighter in color and more layered in flavor than mass-produced jars. Homemade allows me to control salt, acid, and oil for dietary needs and taste preferences, and it avoids preservatives and excess sodium. Texture is another win; I can coax a silkier mouthfeel with the tools and timing I prefer.
Homemade also responds to seasonality. In spring, I favor parsley and young spinach for a lively green, while later I sometimes reach for sturdier leaves like kale when I want an earthy note. The homemade route invites experimentation, which is how I developed my favorite tweaks for every mood, from smoky to herbaceous.
Ingredient Notes & Substitutions for Vibrant Flavors
Here I explain how each main ingredient contributes, and what to swap when you need flexibility. Chickpeas (garbanzo beans) are your creamy base, and their texture determines how smooth the final dip will be. Tahini (sesame seed butter) adds nutty depth and body, while fresh herbs like Italian parsley (or cilantro, depending on preference) deliver the bright green flavor and color. The category labeled super greens of choice covers packed raw greens such as kale, arugula, and/or spinach, and choosing tender spinach or arugula will yield a milder, brighter taste than kale.
If you prefer less tang, reduce fresh-squeezed lemon juice (reserve zest for serving if desired). For oil-free versions, omit olive oil and add a splash more water or aquafaba for silkiness. If tahini is unavailable, substitute a mild unsweetened nut butter, but expect a shift in flavor. For a sweeter green profile, you can experiment by replacing some greens with thawed frozen green peas to create a green pea hummus variation, which I sometimes make when peas are at their best.
When garlic is too assertive, roast the garlic first or use just half a clove. For lower sodium needs, start with less sea salt and adjust at the end after tasting. If you need to please a crowd with mixed preferences, blend a base batch and then tweak separate bowls with additional herbs or spices.
Equipment Notes for Ultra-Smooth Hummus
Good tools make a noticeable difference. A food processor is my go-to because it creates even circulation and makes it simple to scrape down the bowl as I go. A high-powered blender can also produce superbly smooth creamy dips, but you should expect to use a tamper tool and to pulse more deliberately to avoid overheating. If you use a blender, work in smaller batches and add liquid carefully. A silicone spatula for scraping and a fine mesh sieve or food mill are optional but helpful if you want to remove any remaining skins for the silkiest result.
Method Overview: For the basic technique, I pulse the main ingredients together, scrape, then blend to finish, adding tiny amounts of water only at the end to reach my preferred consistency. This short method keeps the mix dense and creamy without diluting flavor early in the process.
When I want truly decadent texture, I plan for a bit of forethought: I gently warm the drained chickpeas (garbanzo beans) in a saucepan, or simmer them briefly if using dried and soaked beans, to soften them fully before blending. Soft beans puree more smoothly than tough ones, and that small extra step rewards you with a noticeably creamier dip.
Pro Tips & Troubleshooting for Perfect Green Hummus
Over time, I learned the small habits that rescue a batch. If your hummus tastes bitter, it usually comes from over-processing herbs or from using bitter greens like mature kale without balancing the acid. A touch more fresh-squeezed lemon juice or a pinch of sugar balances bitterness. If it is grainy, the chickpeas (garbanzo beans) may not be soft enough, or you may need a longer blending time with occasional scraping. For the smoothest mouthfeel, peel a few chickpea skins or run the blended mixture through a fine sieve briefly.
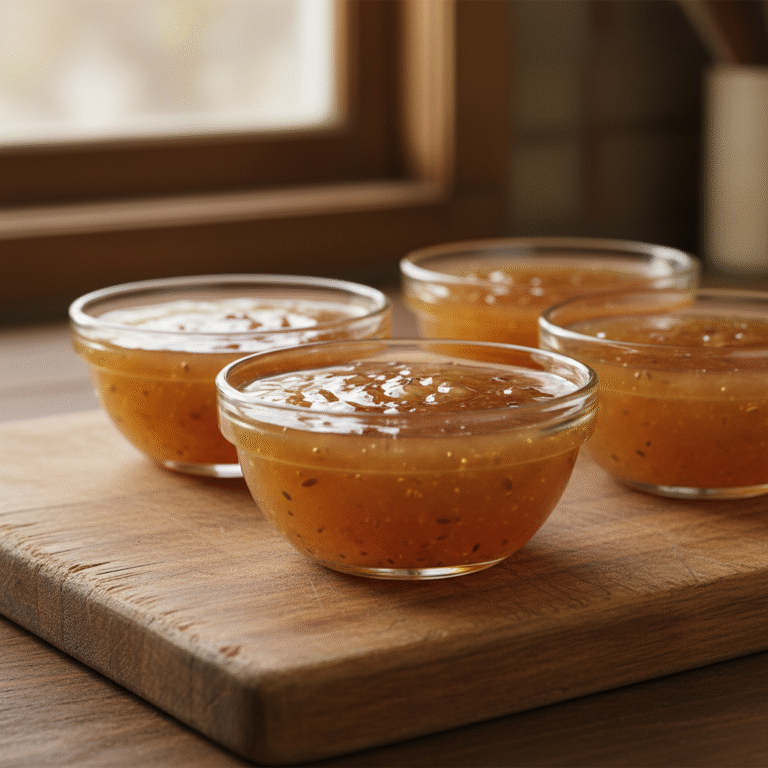
If the hummus is too thick, resist adding too much water at once. Add 1 teaspoon at a time of water, or better, of fresh-squeezed lemon juice, to thin while adding brightness. For thin but rich results, use a little more olive oil, but remember that oil alters the flavor and calories. If the hummus separates after refrigeration, a quick re-blend restores emulsion.
To prevent the color from dulling, keep the hummus chilled and expose it to minimal air. A thin layer of olive oil or an edible film helps protect the surface. When serving, a sprinkle of lemon zest or a few chopped chives refreshes both color and aroma.
Variations & Flavor Twists: Beyond the Basic Green
This is where creative play pays off. My favorite twist is a Green Goddess-inspired version where I emphasize herbs such as tarragon and chives to create a more savory, herbaceous profile. Use fresh tarragon sparingly, as it can dominate. Another favorite is a smoky green hummus with a small amount of smoked paprika and toasted sesame for a complex finish.
For a sweeter, brighter alternative, try green pea hummus, swapping some or all of the super greens of choice for thawed frozen green peas. That produces a vibrant color and a lighter, sweeter taste that pairs beautifully with raw vegetables. For a creamier, nut-forward spread, try adding a small spoon of plain almond butter in place of some tahini (sesame seed butter), understanding this changes the flavor profile.
To make a bold, chilled spread, fold in chopped preserved lemon or a bit of caper brine. For a spiced version, add ground cumin and a pinch of smoked paprika with a light drizzle of chili oil at serving time. I often divide a single base batch into bowls and add different add-ins so guests can sample a few flavors without making multiple full batches.
Serving & Storage: Maximizing Freshness and Enjoyment
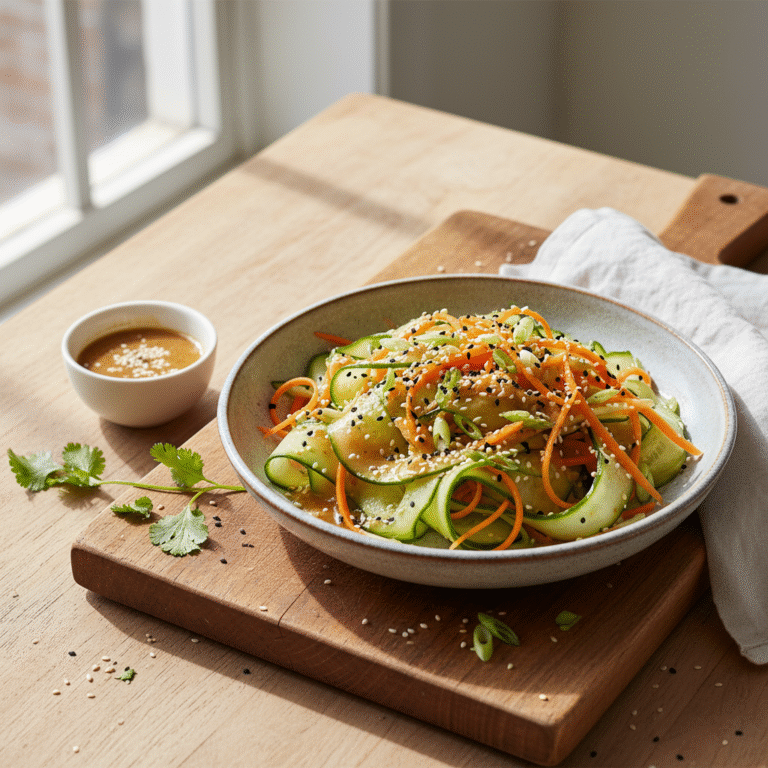
Serving is where presentation meets practicality. I like to serve hummus in a shallow bowl, drizzle with olive oil for gloss, and add a scattering of chopped chives or a few toasted pine nuts for texture. Lemon zest brightens the topmost layer and tempts people to dive in. Use it as a dip for crisp vegetables, a spread for sandwiches and wraps, or a sauce loosened slightly with water for bowls and roasted vegetables.
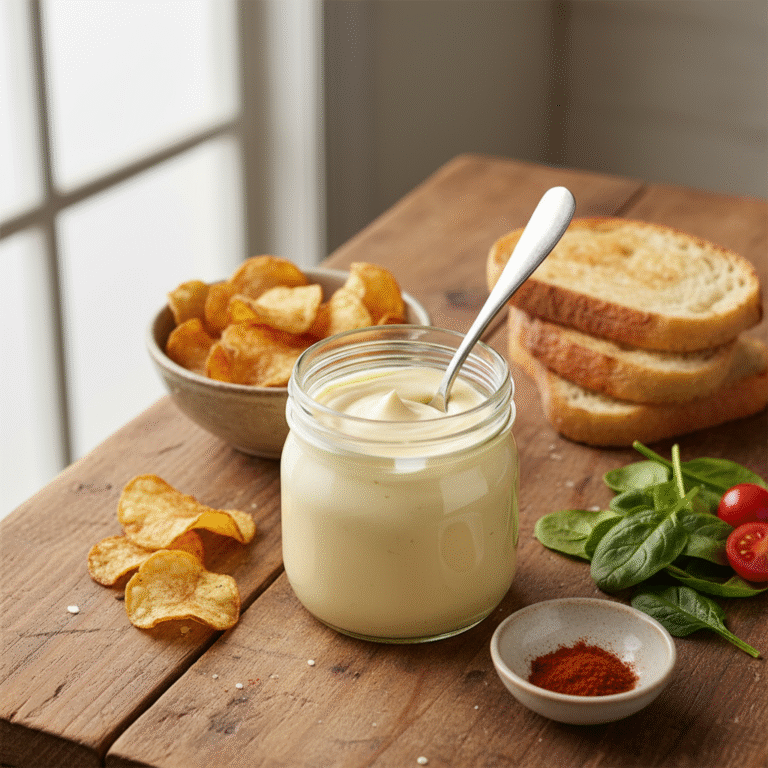
For storage, transfer your hummus to an airtight container and press a layer of plastic directly on the surface, or add a thin film of olive oil on top before sealing. Refrigerated hummus keeps well for 5 to 7 days if prepared and stored cleanly. For long-term keeping, freeze servings in small, flat containers for faster thawing; a thin drizzle of olive oil before freezing helps prevent freezer burn. When thawed, chill thoroughly and give the hummus a quick stir or brief re-blend to refresh texture and color.
Portioning before freezing saves you from wasting a full batch. I often freeze in 1/2 cup portions so I can defrost a single serving for lunch or an appetizer tray without thawing the whole container.
Understanding the Health Benefits of Green Hummus
Green versions of hummus add leafy greens or peas to the classic chickpea base, boosting vitamins, minerals, and fiber while keeping the protein-rich foundation. Chickpeas (garbanzo beans) provide plant protein and fiber, which help with satiety and steady energy. Tahini (sesame seed butter) contributes healthy fats and a dose of calcium and B vitamins, and olive oil adds monounsaturated fats associated with heart health.
Adding super greens of choice increases vitamin K, vitamin A, and antioxidants, and using herbs like parsley contributes vitamin C and flavonoids. For people managing blood sugar, the combination of fiber, protein, and healthy fats makes hummus a stabilizing snack when paired with whole-grain crackers or raw vegetables.
I emphasize whole-food ingredients and moderate oil to keep the nutrient density high without excess calories. If you have dietary restrictions, this base is highly adaptable to lower-sodium, oil-free, or nut-free needs.
Ensuring Hummus Stays Fresh and Safe to Eat Longer
Food safety is important, especially with homemade dips that sit out during gatherings. Keep hummus refrigerated until just before serving, and discard any hummus left at room temperature longer than two hours. Use clean utensils when scooping to avoid cross-contamination. When storing, leave as little headspace as possible in the container to reduce oxidation, and label freezer containers with the date. Although hummus freezes well, aim to use frozen portions within three months for the best quality.
When thawing, always move hummus to the refrigerator and let it defrost there rather than at room temperature. If you re-blend after thawing, check flavor and salt levels and adjust with a little fresh-squeezed lemon juice or sea salt (or more chives) if needed. If the aroma or appearance seems off after thawing, err on the side of safety and discard.
Making Green Pea Hummus for a Different Twist
Green pea versions bring a springlike brightness that I love for picnics and light lunches. To make green pea hummus, replace some or all of the super greens of choice with thawed frozen green peas, and taste for lemon balance, as peas can be naturally sweeter. The method is the same: blend the base until smooth, and add water or olive oil sparingly to achieve the texture you prefer.
When I make this variation, I sometimes reduce fresh-squeezed lemon juice slightly and add a small pinch of sugar if I want to accentuate the peas’ sweetness. Pea-based hummus is excellent with mint or basil folded in at the end for a refreshing finish, and it pairs beautifully with sliced radishes, snap peas, or warm pita strips.
Conclusion
Making your own green chickpea hummus is one of the most rewarding kitchen projects I recommend. It is flexible, nutritious, and forgiving, and small adjustments to herbs, acids, and oil let you shape it to your taste. I encourage you to experiment with the variations I described, to try freezing small portions, and to keep a jar of versatile hummus-ready in your fridge for quick meals and snacks. Cooking this way has become part of our family rhythm, and I hope these tips help you make a batch that becomes a staple in your home as well.
From my kitchen in the Peak District to yours, happy blending and happy sharing.
Love this recipe? Follow us on Facebook and Pinterest and explore more creative ideas on our food blog!
Frequently Asked Questions
What makes the vibrant green chickpea dip so flavorful?
Fresh herbs and the right balance of acid and fat create vibrancy. I use Italian parsley (or cilantro depending on preference) and a mix of greens for color, plus tahini (sesame seed butter) and fresh-squeezed lemon juice (reserve zest for serving if desired) to add depth and brightness.
How can I extend the shelf life of homemade hummus?
Store hummus in an airtight container with a thin layer of olive oil on top, refrigerate promptly, and use within 5 to 7 days. For longer storage, freeze in small portions with oil on the surface and use within three months.
Is this green dip a healthy addition to my diet?
Yes, it combines protein and fiber from chickpeas (garbanzo beans) with vitamins and antioxidants from added greens, plus heart-healthy fats when using olive oil and tahini (sesame seed butter). Portion control keeps it balanced.
Can green pea hummus be made with frozen peas?
Absolutely. Thawed frozen green peas make a bright, sweet variation. Substitute them for the greens or combine them, then adjust lemon to taste since peas add natural sweetness.
What are the best greens to use for this hummus?
Tender greens like spinach and arugula make a milder, brighter dip, while kale adds earthiness. I often use a mix depending on season and texture preference, and I remove tough stems before blending.
How do you get creamy hummus every time?
Use very soft chickpeas (garbanzo beans), blend long enough with occasional scraping, and add liquids slowly. Warming the chickpeas lightly or removing skins can also improve creaminess.
What is the secret to freezing hummus successfully?
Freeze in small, airtight containers, add a thin layer of olive oil on top before sealing to minimize drying, and thaw in the refrigerator. Re-blend if texture separates after thawing.